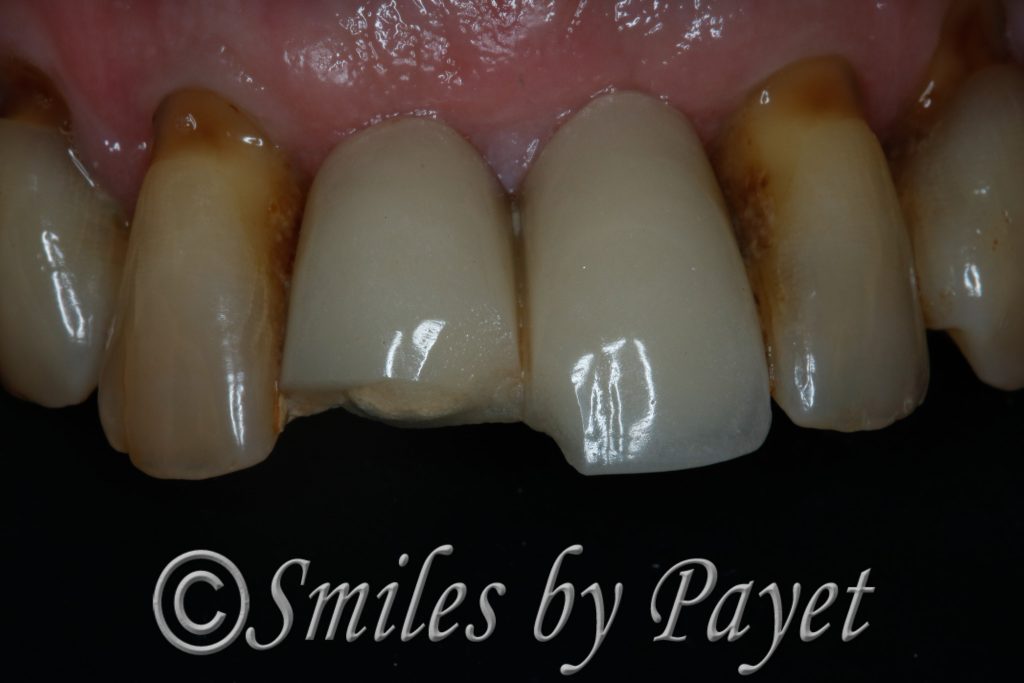
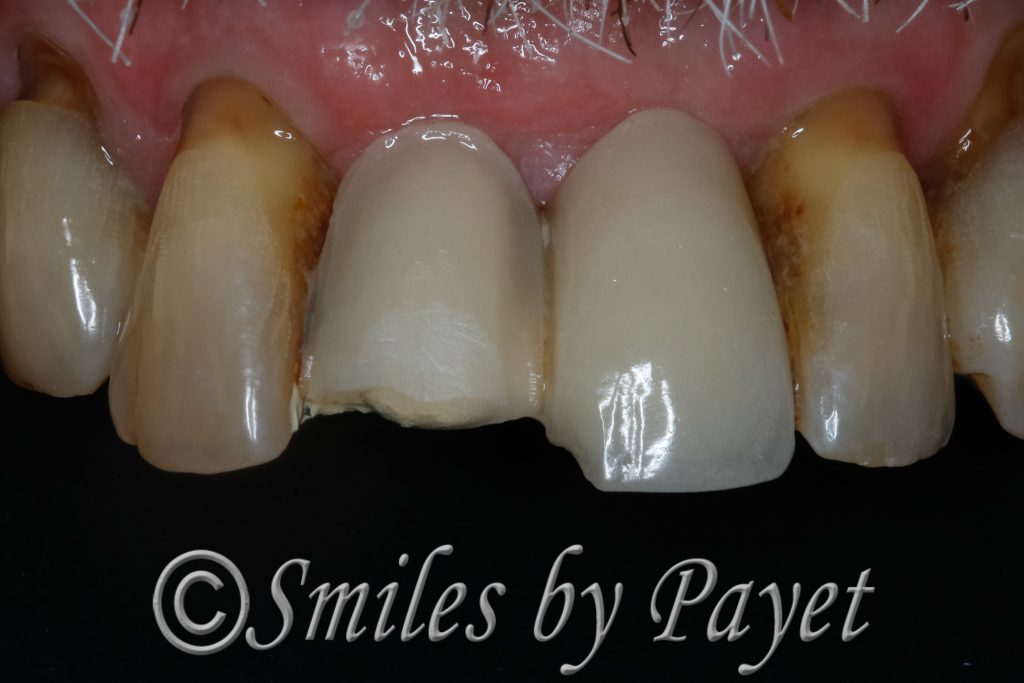
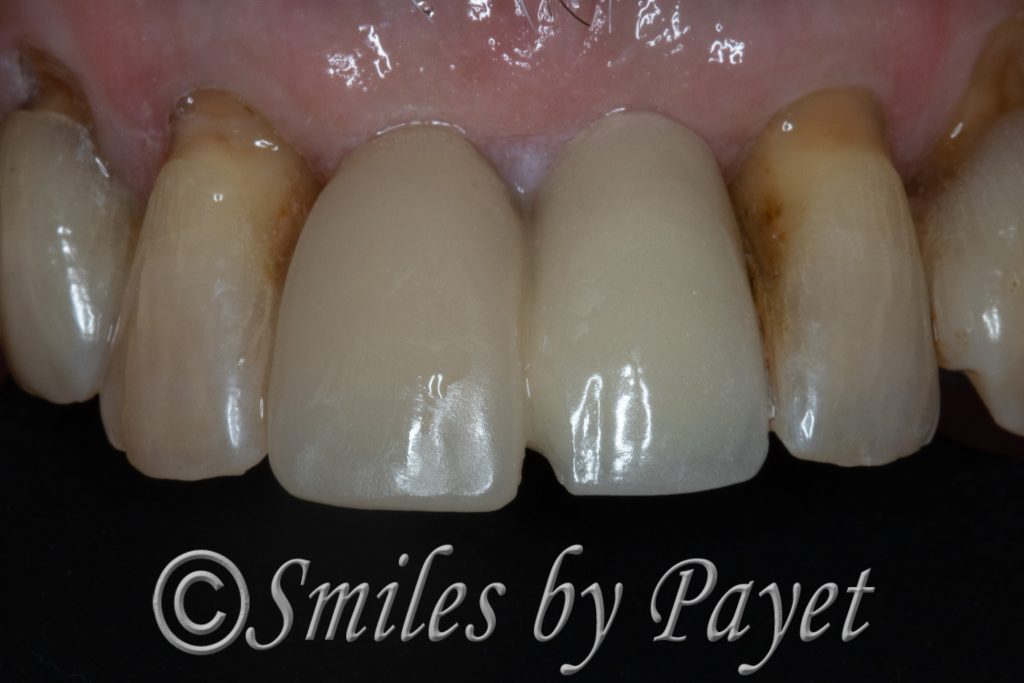
If you have a dental bridge and some of the porcelain has broken off in a place visible in your smile, the bridge usually has to be replaced. Sometimes however, the bridge can be repaired with a creative and nifty technique called an “overcrown.” This isn’t always an option, but when it is, it’s a great way to save you money and time at the dentist.
Repairing is Less Expensive than Replacing
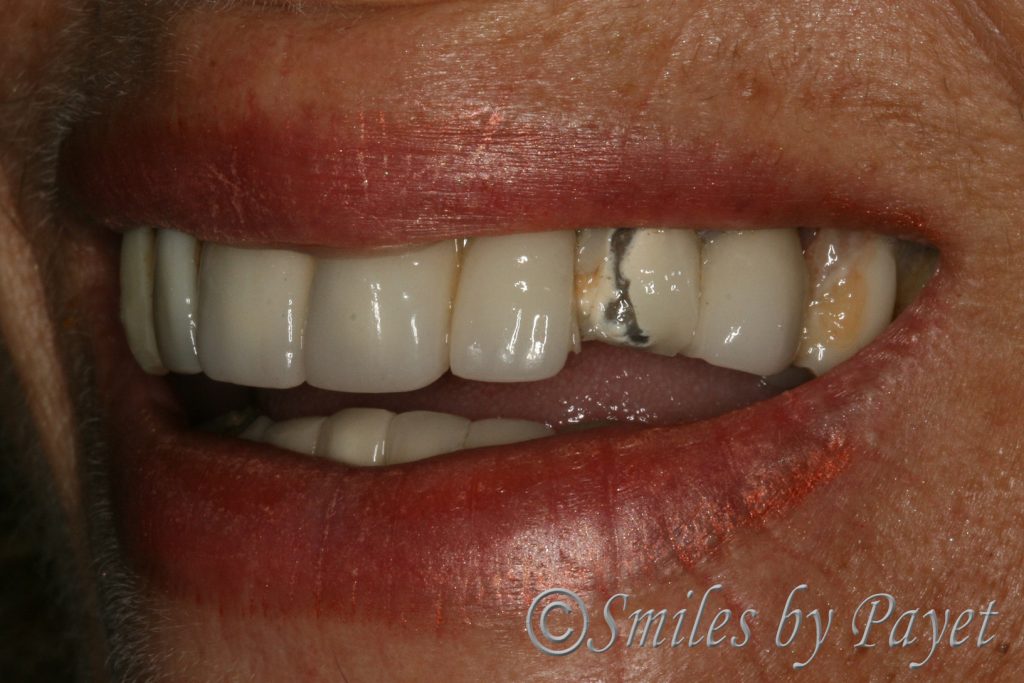
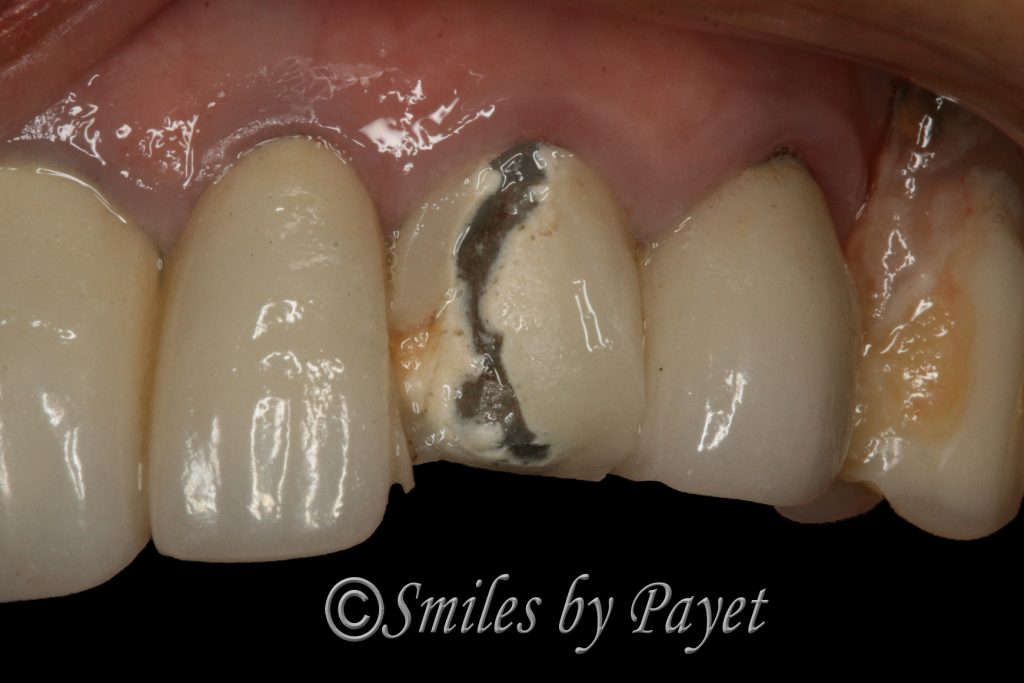
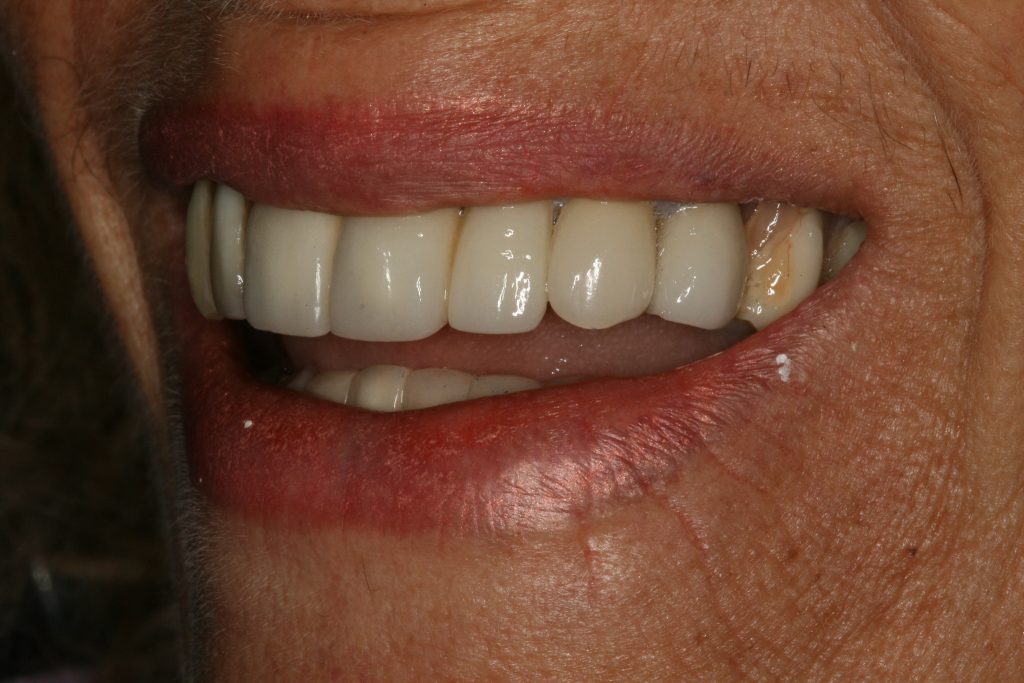
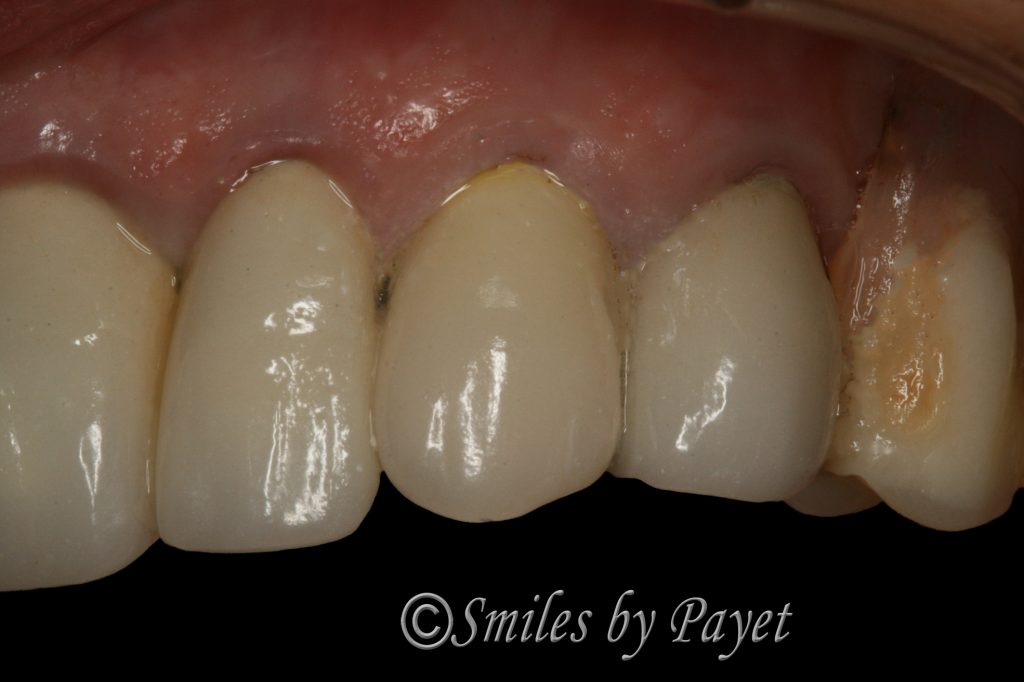
Our patient M., as we’ll call her, has been with our practice since late 2006. She had some well-done dental work many years before, including long PFM (Porcelain-fused-to-Metal) dental bridges. In the spring of 2008, however, she broke a big piece of porcelain off a top front tooth. The bright silver shining through really bothered her. She didn’t want to replace the whole thing, because it cost too much. I’d recently learned the “overcrown” technique through a professionals-only dental forum. Given it was the only option except for replacement, she let me try. I think you’ll agree – it turned out pretty well!
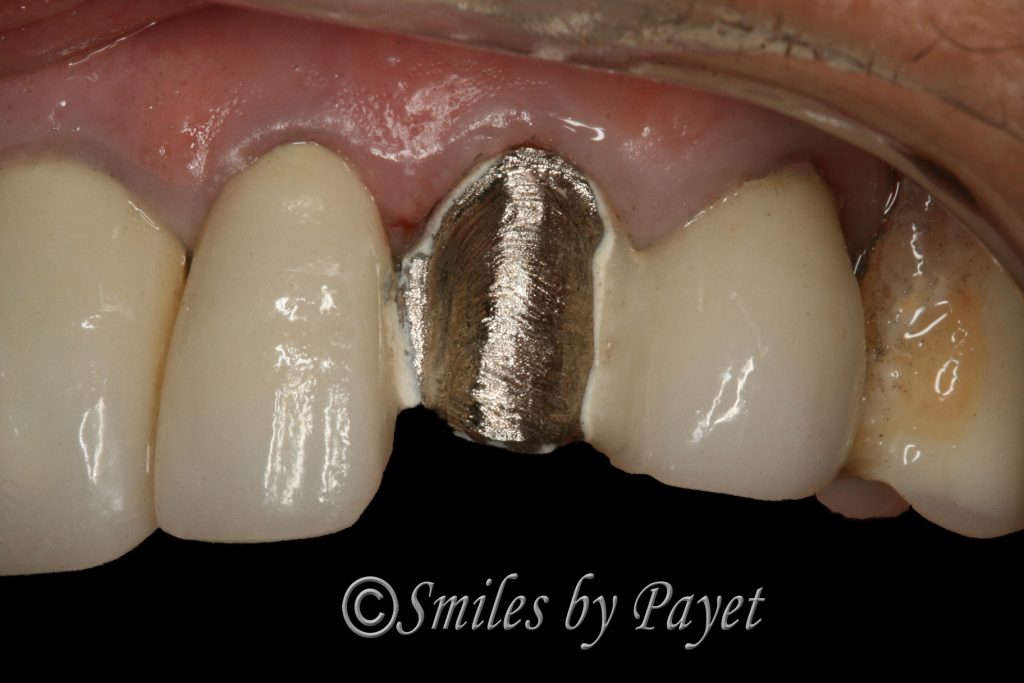
The basic process was similar to any other crown. I drilled off the remaining porcelain on the broken portion of the bridge to expose the metal. A margin, or edge, was shaped along the gumline, where the crown stops. We made an impression, or mold, which is something we almost never do anymore, thanks to the CEREC Bluecam and the TRIOS 3 Intraoral Scanner). We cemented a temporary crown for 2 weeks. When the real crown came in, we cemented it like normal.
As of this blog publication date, that bridge repair with an overcrown is 11 years old, and it still looks great.
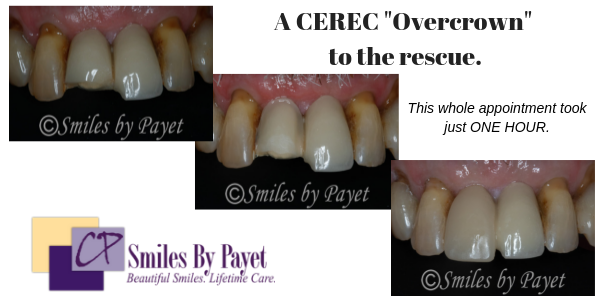
CEREC Emax Overcrown to the Rescue
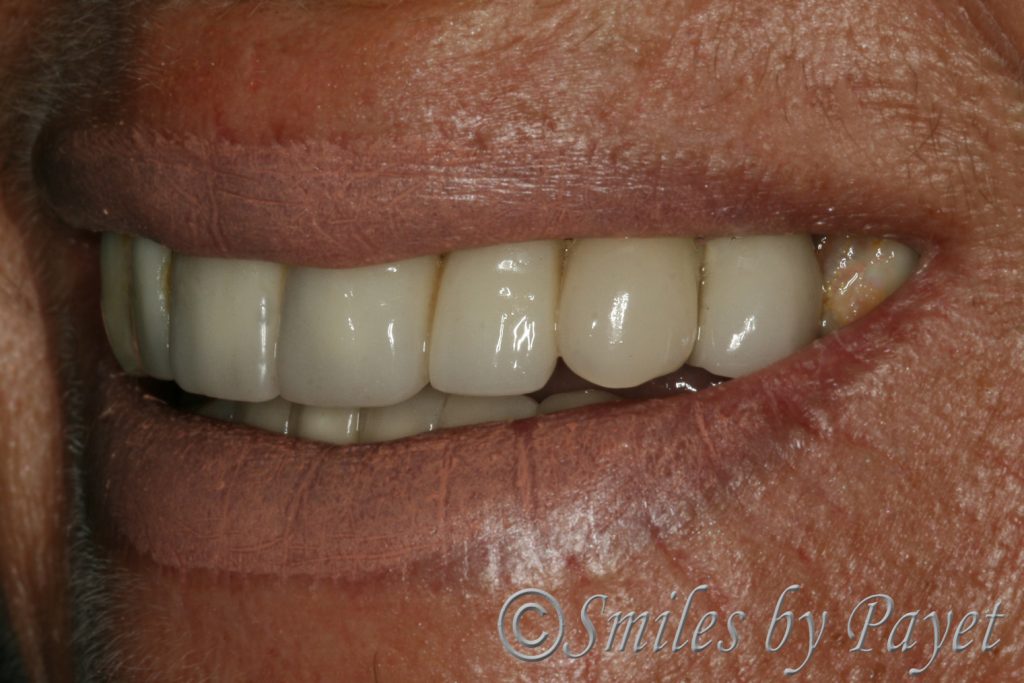
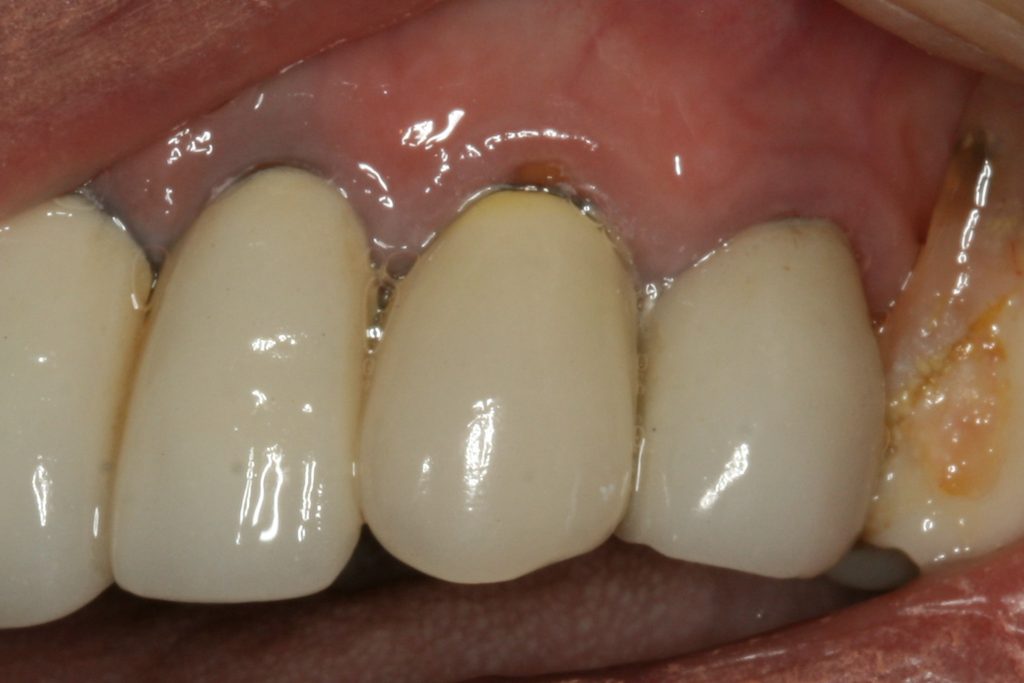
This case is more recent & was completed in March 2019. This gentleman’s Maryland bridge, as it’s called, was more than 30 years old, and still in (mostly) great shape. Unfortunately, he fell and hit a front tooth, breaking off a big piece. For perspective, that bridge was done 9 years before I became a dentist. It was done the year before I started college! The oldest and still functioning dental work I’ve done that I know of, is a 19 year old CEREC crown for my Mom. 🙂 Anyway, back to the story…..
Given the bridge is still solidly cemented and functioning, I sure didn’t want to replace it. The patient didn’t want to spend that much money either. So I suggested an overcrown for him, too. This time, we did it with with our CEREC Bluecam CAD/CAM system. True, it is “old “technology, but it’s still among the best available. We chose a material called Celtra DUO for its strength, esthetics, and because it matched color so well.
Maybe one day, he’ll let me do the same for the tooth next to it, to take care of the chipped corner. He said it doesn’t bother him though, so we left it alone.
The process was similar to the previous case, but instead of taking a mold and sending it to the lab, we sprayed a thin coat of blue powder over the teeth, scanned it, designed it on the Bluecam, milled it, polished it, and bonded it in. The whole process lasted about 75 minutes. No numbing, only a little drilling, and a little polishing afterwards. Not too shabby, if I do say so myself. 😀
Give us a Call or Request an Appointment if you need some work like this. It’s that easy to start.

